There are many methods of making fondant bows and each method produces a different result. Fondant bows add that “extra” to a well decorated cake and there is no right or wrong kind of bow. The only thing is that the bow has to have structure and come out pretty and recognizable as a bow(s). You can also accentuate your bows or leave them plain.
 Click here to check this out and buy on Amazon
In this article, we would be sharing how to make three different kinds of bows. The basic principles for making any kind of bow is the same but the steps differ. We’ll also add videos that would give you visual aids to enhance learning.
First of all however, you need to know the materials you need to make fondant bows.
Table of Contents
Materials Needed to Make Fondant Bows
(i) Fondant (or gum paste) – Gum paste is actually the best medium to use for cake decorating bows. But fondant can also work in the case where you don’t have gum paste handed. For best results with fondant, add a teaspoon or more of CMC to 1 pound of fondant (this depends on the climate of your region). Click here to read our article on how to harden fondant.
 Click here to check this out and buy on Amazon
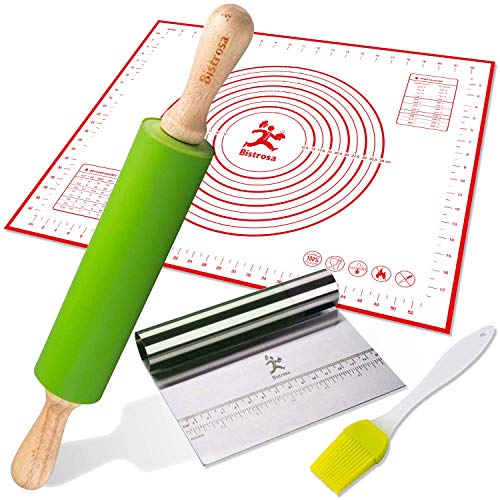
(ii) Fondant rolling mat (preferably silicone)
(iii) Fondant rolling pin
(iv) Pizza cutter or craft knife
 Click here to check this out and buy on Amazon
(v) Ruler
(vi) Paper towel
(vii) Cornstarch
(viii) Vegetable shortening
(x) Edible glue – You can either buy ready-to-use edible gum or make yours. To make yours, all you need to do is pinch of a little fondant and drop into a small container with a little water. Leave it to dissolve and voila! You have your edible glue.
(xi) Small paint brush 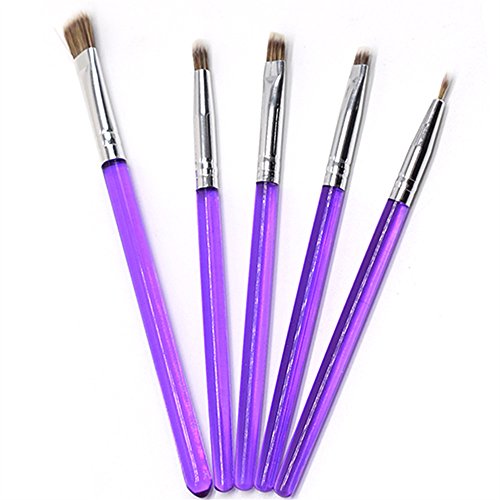 Click here to check this out and buy on Amazon
Method 1: How To Make Mini Fondant Bows With Tails
Mini bows are dainty accents that can be added to edge or sides of a cake or cupcake. They can be made in 5 simple steps; here goes
Step #1
Place your fondant mat on an even working surface. But if you are working directly on a working surface, ensure that it is a smooth working surface (marble work surfaces or Formica covered surfaces are best). Then grease that surface with vegetable shortening or dust with cornstarch (this also depends on your region; if you live in a high humidity region, use cornstarch but if you live in an arid region, use vegetable shortening).
Next, roll out your fondant or gum paste as thin as a quarter of an inch or 1/8th and cut out three strips that are equal in width and length.
Step #2
Fold one end of a strip to the center of the strip and adhere it with edible glue or a dab of water. Do the same with the other end; ensure that both ends are secured to the center of the strip. Then pinch the adhered ends. Ensure that the pieces that the pieces you have folded do not get flat. You can achieve this by placing a folded (rolled piece) paper towel of appropriate size in the folded parts of the strips.
Step #3
Cut out a smaller rectangle strip and drape it over the center of the folded strip. And leave to dry.
Step #4
Cut the ends of the remaining two strips to create the tails.
Step #5
You can either place these tail directly on the cake (if you are making the bows the same day as when you are decorating the cake) or drape them over the edge of a cake dummy or Styrofoam to dry.
Step #6
When you are ready to assemble the bows, first of all place the bows on the cake (that is if you left it on different surface to dry). Then place the folded strip on the tails and you have your bow.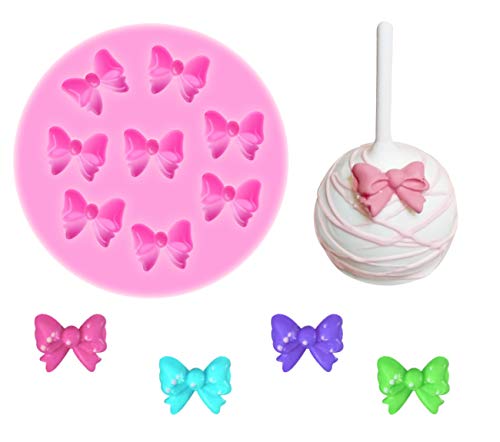 Click here to check this out and buy on Amazon
The accompanying video gives you a visual of these steps. But one thing to bear in mind is that the size of what you call a mini bow would be commensurate to the cake it is to be used for.
So the mini bow in this video is for cupcakes but you might want a mini bow for a wedding cake or a large birthday cake. What that means is that you mini bow would definitely be larger than the one in the video. So grab the principles and steps and go ahead to make your bows to your specification.
Method 2 : How to Make Fondant Loop Bows
These types of bows are mainly used as cake toppers. They work beautifully for both round cakes and gift box designs. The great thing about it is that you can add a variety of twist to these loops. So here’s the basics for making loop bow (there are other variations to this method).
Note: these bows have to be made as least 12 hours before use.
Step # 1
Follow the first step of method one with the exception of the number of strips. You’ll need a minimum of 13 strips. This depends however on how full you want the loop to be or on the size of the bows.
Step # 2
Dab a little water or edible glue to one end of a strip and insert the florist wire about halfway into the strip. Then fold the other end to the first end and pinch it to close (ensue that you have enough length of florist wire protruding). Repeat this process with the number of strips you have cut out. The florist wire gives some structure to the bow but you might want to insert pieces of rolled paper towel to the loops of the bow.
Step # 3
When you are ready to assemble the loops on the cake, place a ball of fondant in the middle of the cake. Then begin to attach the bows into the fondant ball with the protruding end of the florist wire that you have inserted into the strips in step #2
Step # 4
Place the bows in a circle till the first layer is complete. Next proceed to form a second and third layer until you get the shape you desire.
 Click here to check this out and buy on Amazon
The first video shows how to make loop bows but they didn’t use florist wire. The reason for the florist wire in our method is because we used fondant. So the florist wire helps to add structure to the loops.
The second video adds a different twist to making loop bows.
So once again, learn the principles of the basics and go ahead to experiment and add your own fun twists!
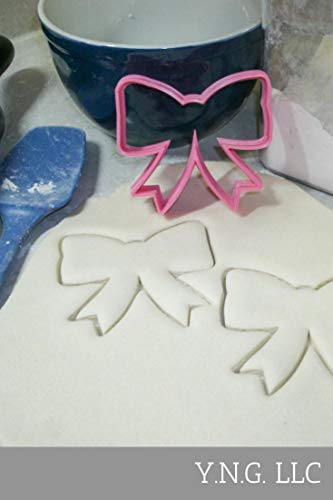
Method 3: How To Make A Single Large Fondant Bow
The steps for making large single bows is similar to making mini bows. Like we had mentioned before, there are a variety of methods for making fondant bow. So we wouldn’t belabor you with repetitions. Let’s just leave this video here for you to watch and pick up some pointers.
Method 4: Making Fondant Bows With Molds
One quick surefire way of getting out plenty of bows or just one bow whenever the need arises is to use molds. Yep! Molds! Culinary arts has been made easy!
So this option is for those who don’t have either the time or inclination to go through all the above 4 or 6 steps narrated in the foregoing methods.
Just roll out your fondant, press it into the mold and voila! You have your bows!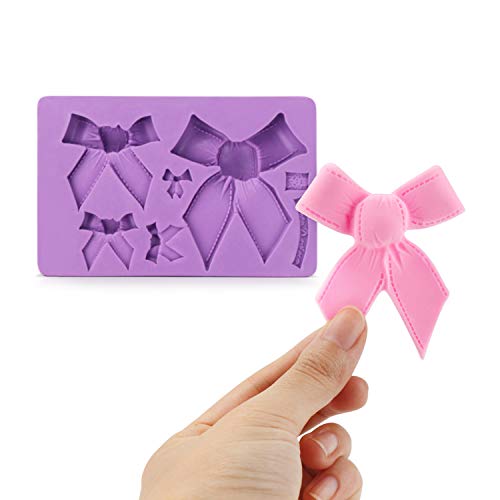 Click here to check this out and buy on Amazon
Check out some of our other articles for more cake decorating inspiration: –
- How To Store Fondant Decorations
- Cake Boards – Covering the Bases
- Gum Paste Flowers –Edible Decorations
- Sugar Flowers – Using the Right Tools
- Cake Turntable: A Decorator’s Best Friend
- ZGO Silicone Utensils Set -Full Review